Connecticut Waitlist Feature Overview
Last updated: January 13, 2026
What is the Waitlist?
Our Waitlist feature acts as a real-time, auditable log that helps facilities stay organized while meeting Connecticut state compliance requirements for managing patient referrals.
Facility-Specific
Referrals are automatically added to the waitlist of the specific facility / facilities that receive the referral
All actions are recorded in an auditable log, fulfilling compliance and documentation requirements
Time-Based
Waitlists are ordered by the time each referral was received
The oldest referrals appear at the top of the waitlist, and newer referrals follow below
How to use the Waitlist
The waitlist should be updated at least once per day, so it always mirrors the latest referral activity. Maintaining and up-to-date waitlist keeps the log accurate, actionable, and fully auditable.
Adding to the Waitlist
New referrals are placed on the waitlist for the facility to which they are assigned
For referrals sent to multiple facilities, they will show up on the waitlist of each facility that received the referral
Managing Referral Statuses
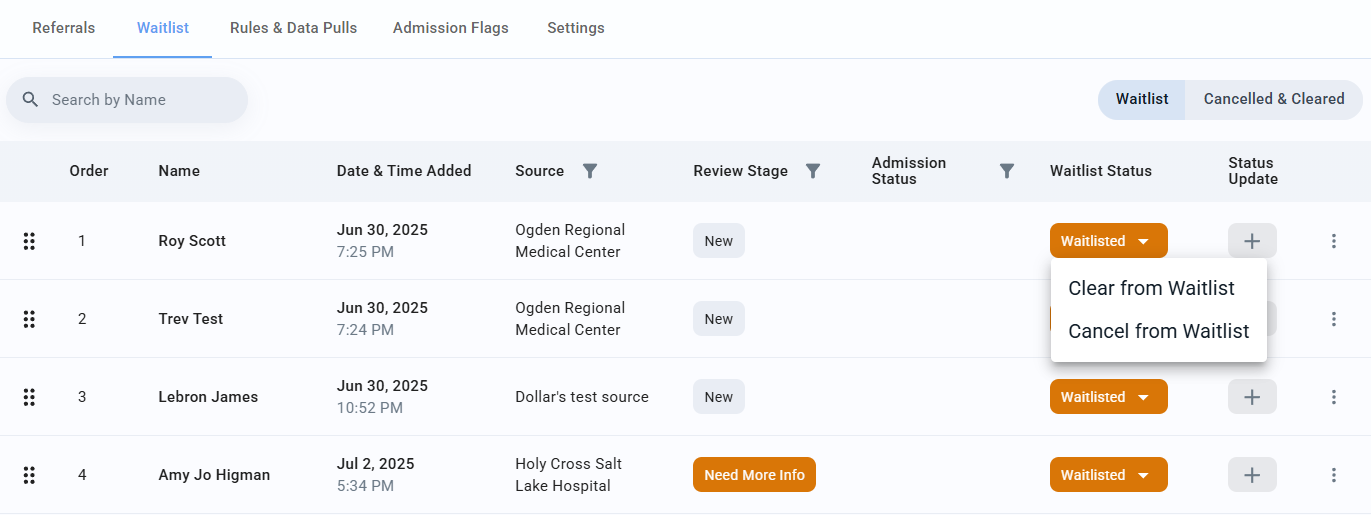
Referrals must be removed from Waitlist once they are either admitted into the facility or no longer require admission. They can be removed by selecting "Clear from Waitlist" or "Cancel from Waitlist".
Clear from Waitlist – Use this for referrals that are moved-in
Cancel from Waitlist – Use this for referrals that are declined or lost
Updating Waitlist Order
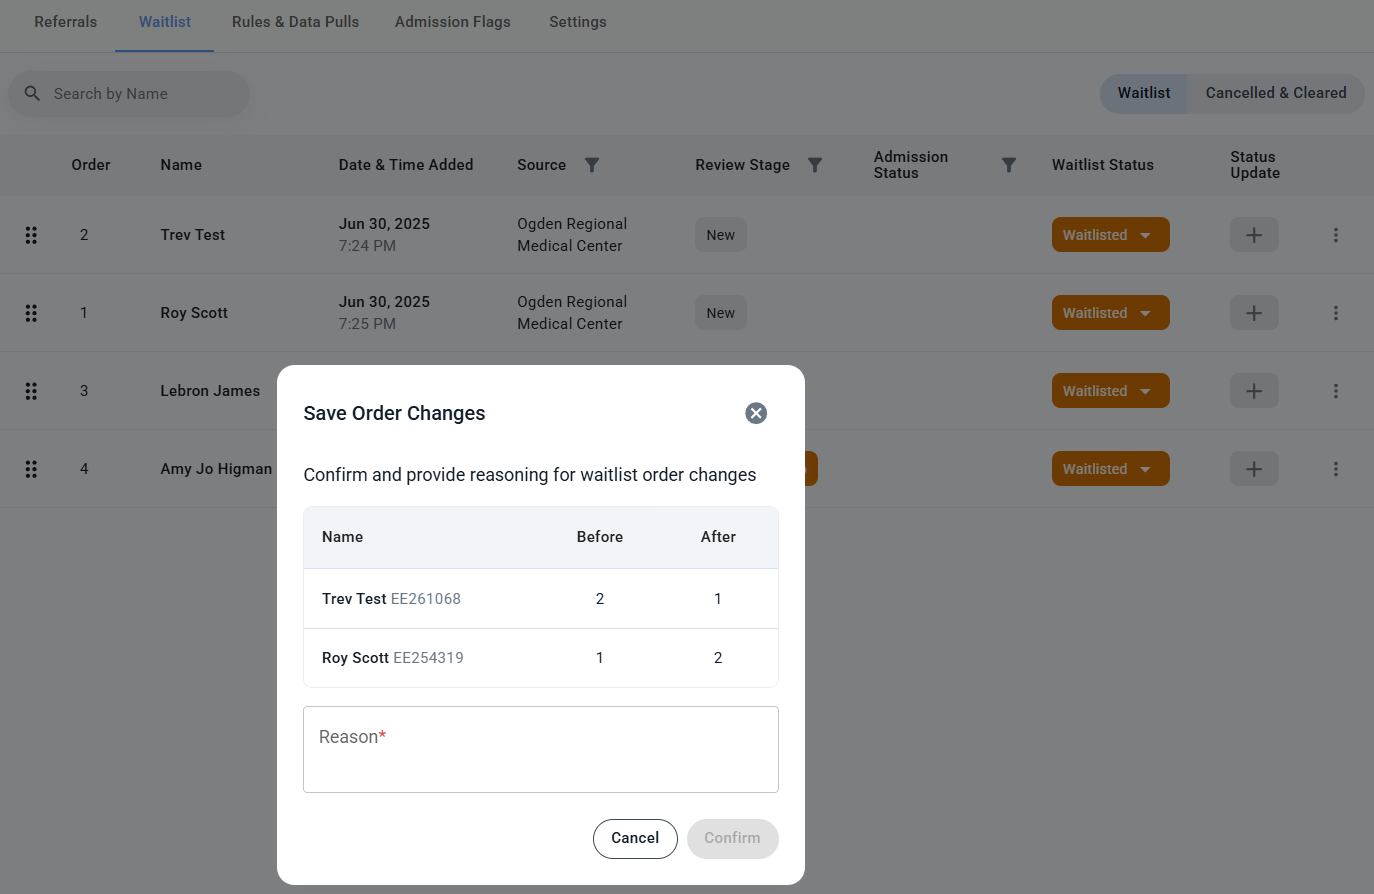
For the remaining referrals that stay on the waitlist, their order can be changed using the drop and drag feature
Note that manually re-ordering referrals requires you to provide reasoning for waitlist order changes
Adding Status Updates
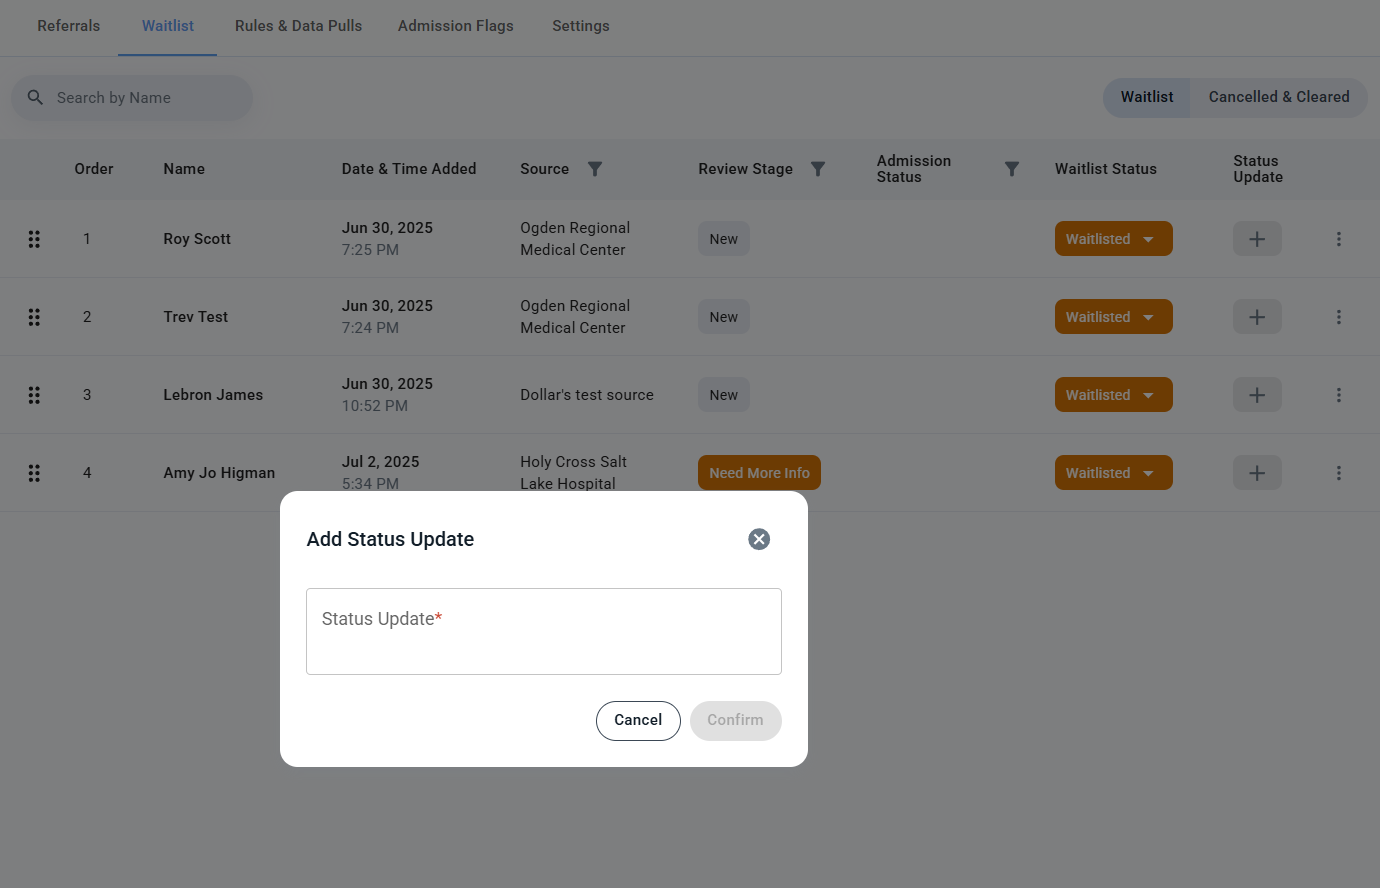
Users can add status updates to any referral on the waitlist to record contact attempts, progress, or other relevant updates
These updates keep your team in sync and support proactive follow-ups
Quick Access for Contact Info
If a referral’s facesheet includes a phone number or address, that info appears as a tooltip directly on the waitlist
This allows you to access key details instantly without needing to open the referral directly
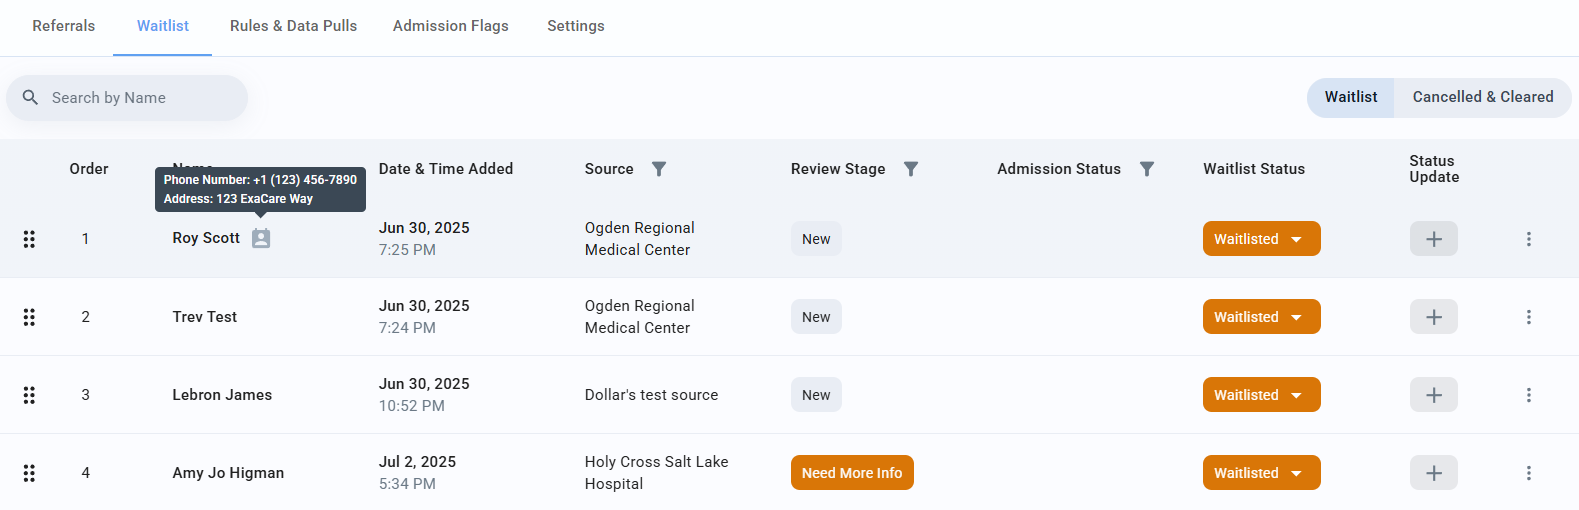
Detailed Waitlist Referral Dashboard
This dashboard shows a detailed breakdown of all the referrals on the waitlist. Key fields include:
Waitlist Receipt ID
Waitlist Order
Referral Name
Date Added
Time Added
Source
Review Stage
Admission Stage
Waitlist Status
Internal Denial Reason
Internal Denial Reason Comment
Lost Reason
Lost Comment
Use this to track the status of and comments of all referrals on the waitlist. You can use the filters at the top of the dashboard to customize your view by Facility, Date Added, and Waitlist Status.
Printable Waitlist Report
The Printable Waitlist Report provides a print friendly snapshot of referral activity. It includes the following data columns:
Waitlist Receipt ID
Waitlist Order
Referral Name
Date Added
Waitlist Status
Internal Denial Reason
Internal Denial Reason Comment
Lost Reason
Lost Comment
You can use the filters at the top of the dashboard to customize your view by Facility, Date Added, and Waitlist Status.
Facility, Date and Status filters
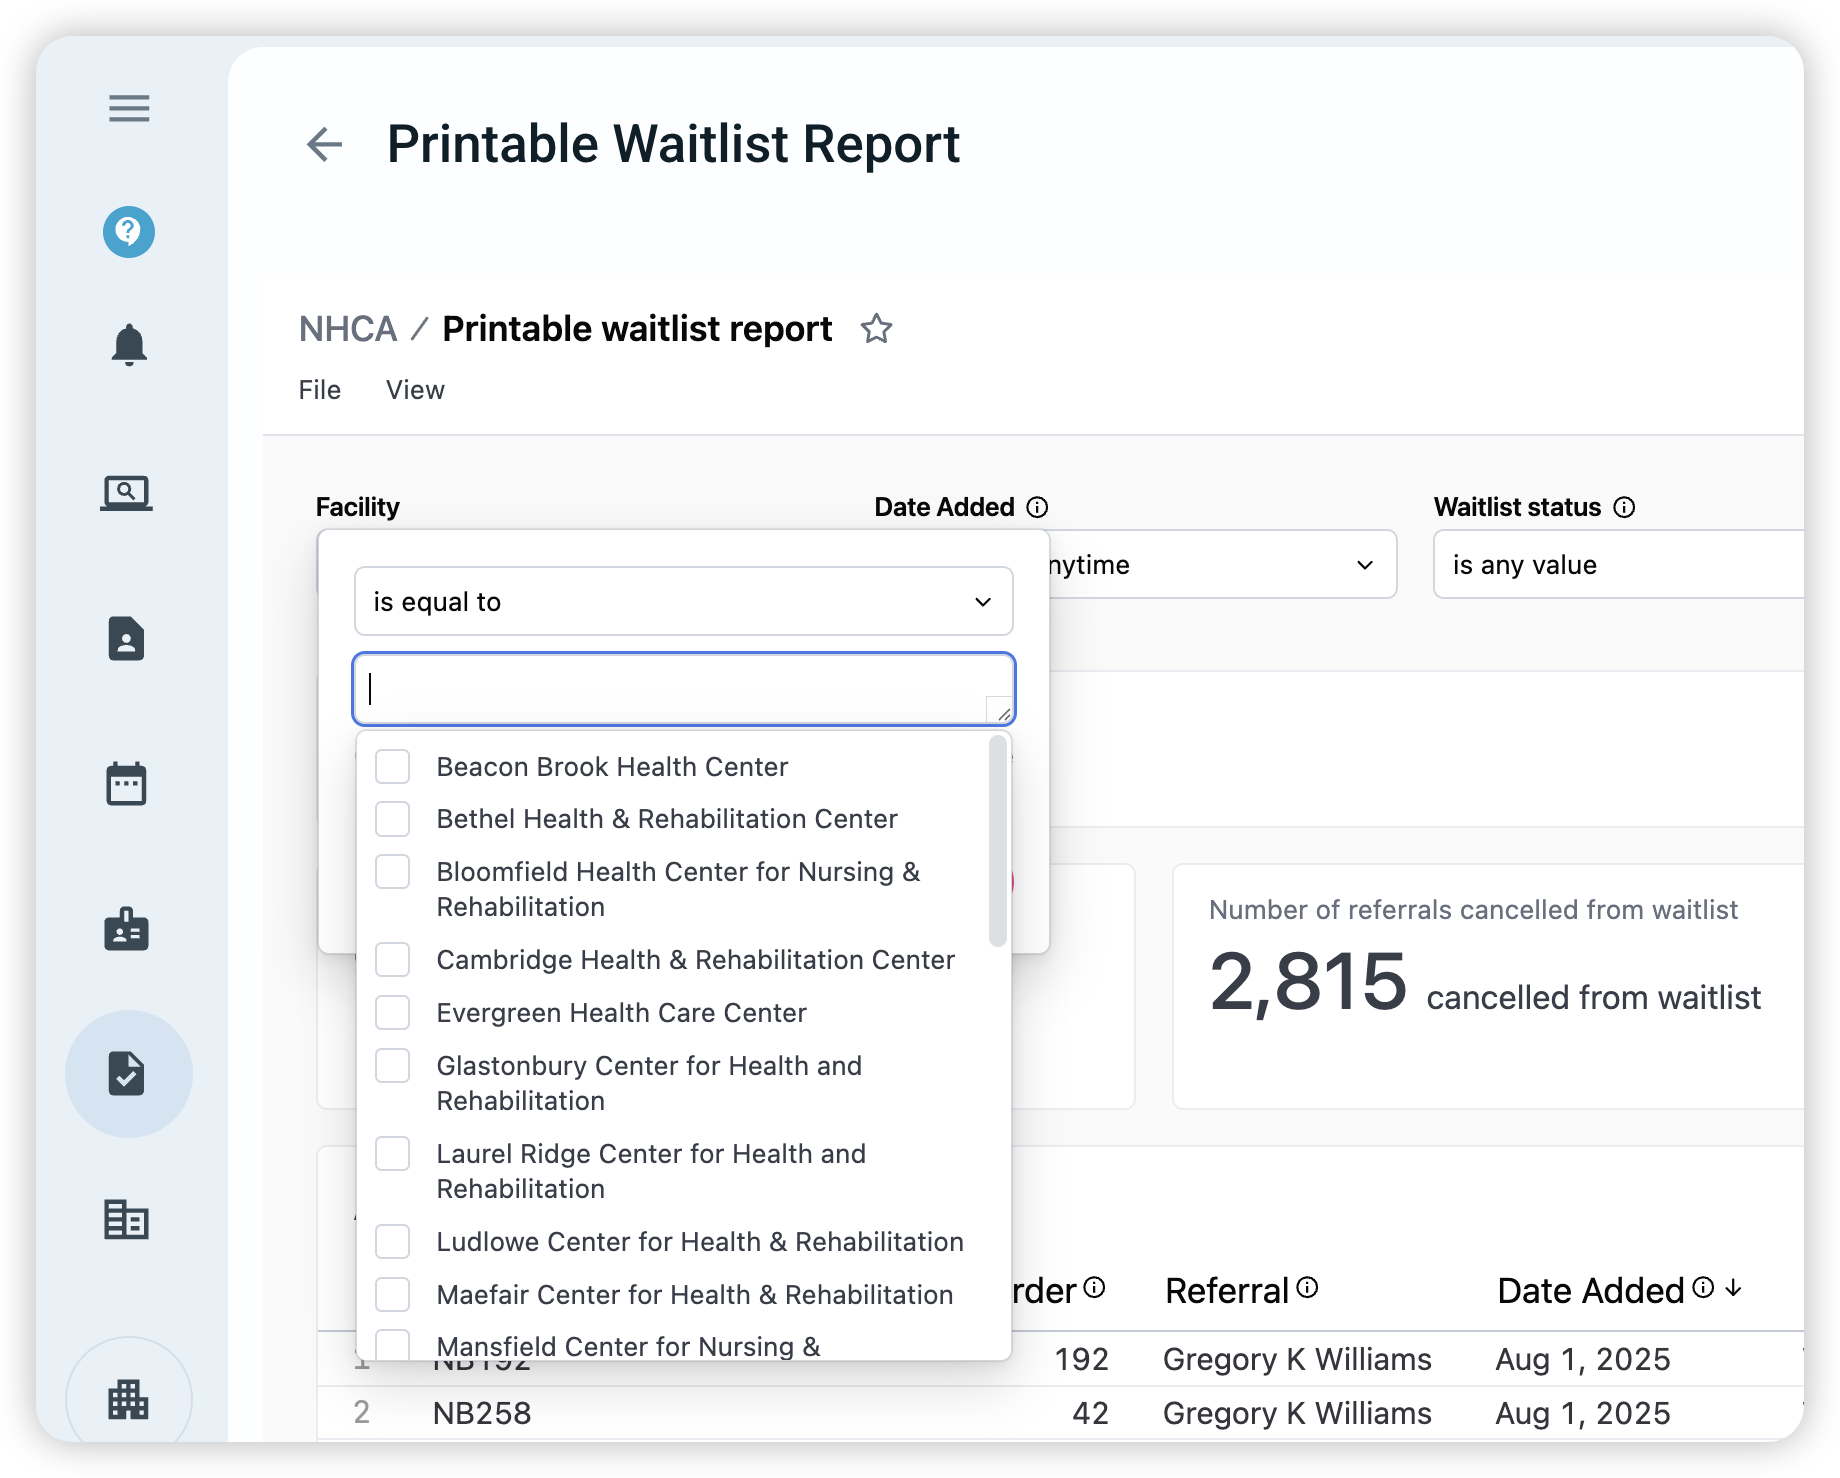
Facility Filter
Select the facility you want to view
Date Added Filter
Controls which referrals appear based on when they were added to the waitlist
Set to "any time" to see the current state of the waitlist (i.e., who is still waiting as of today)
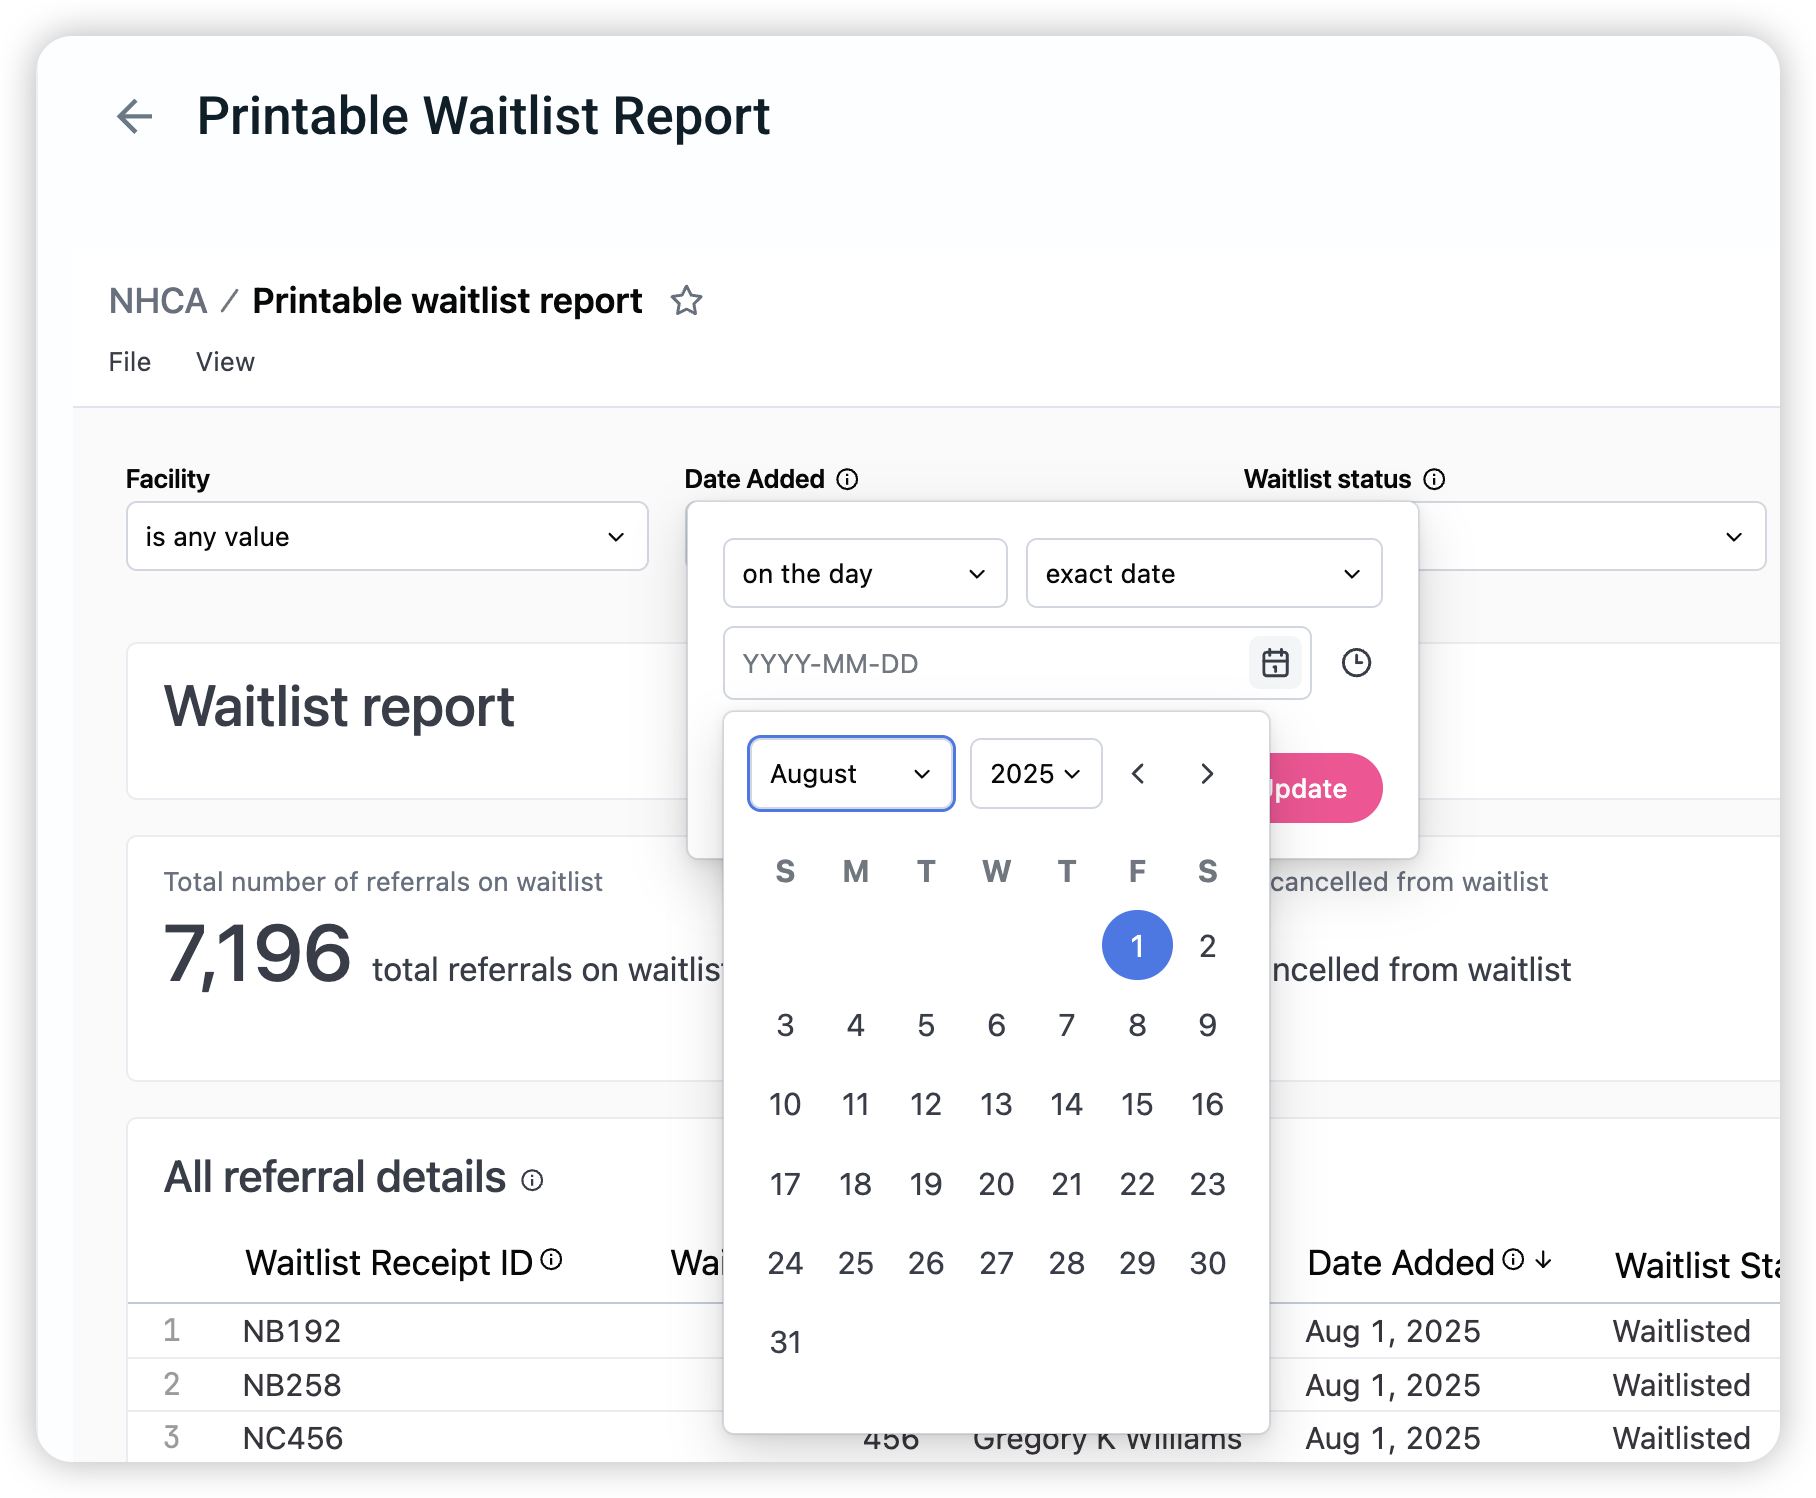
Select a specific date or range to view referrals added during that time window
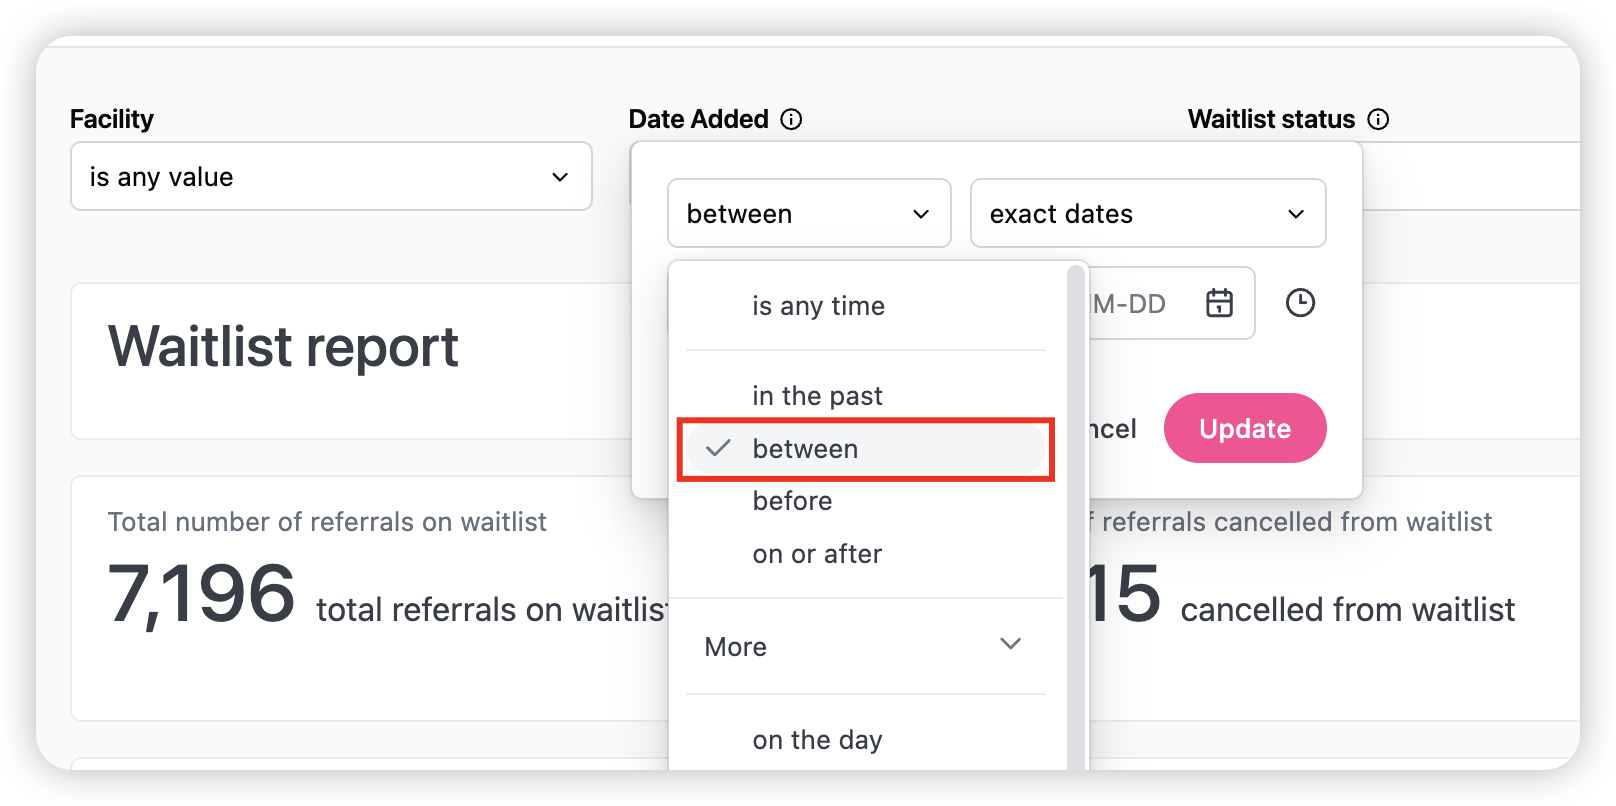
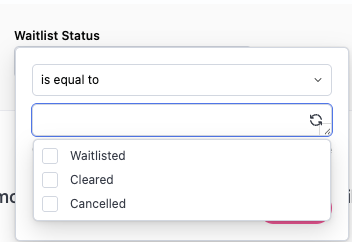
Waitlist Status Filter
Choose which referral statuses to include:
Waitlisted: still on the waitlist
Cleared: admitted from the waitlist
Cancelled: removed from the waitlist for another reason
You can include one, some, or all statuses depending on your use case
Download or Print the Report
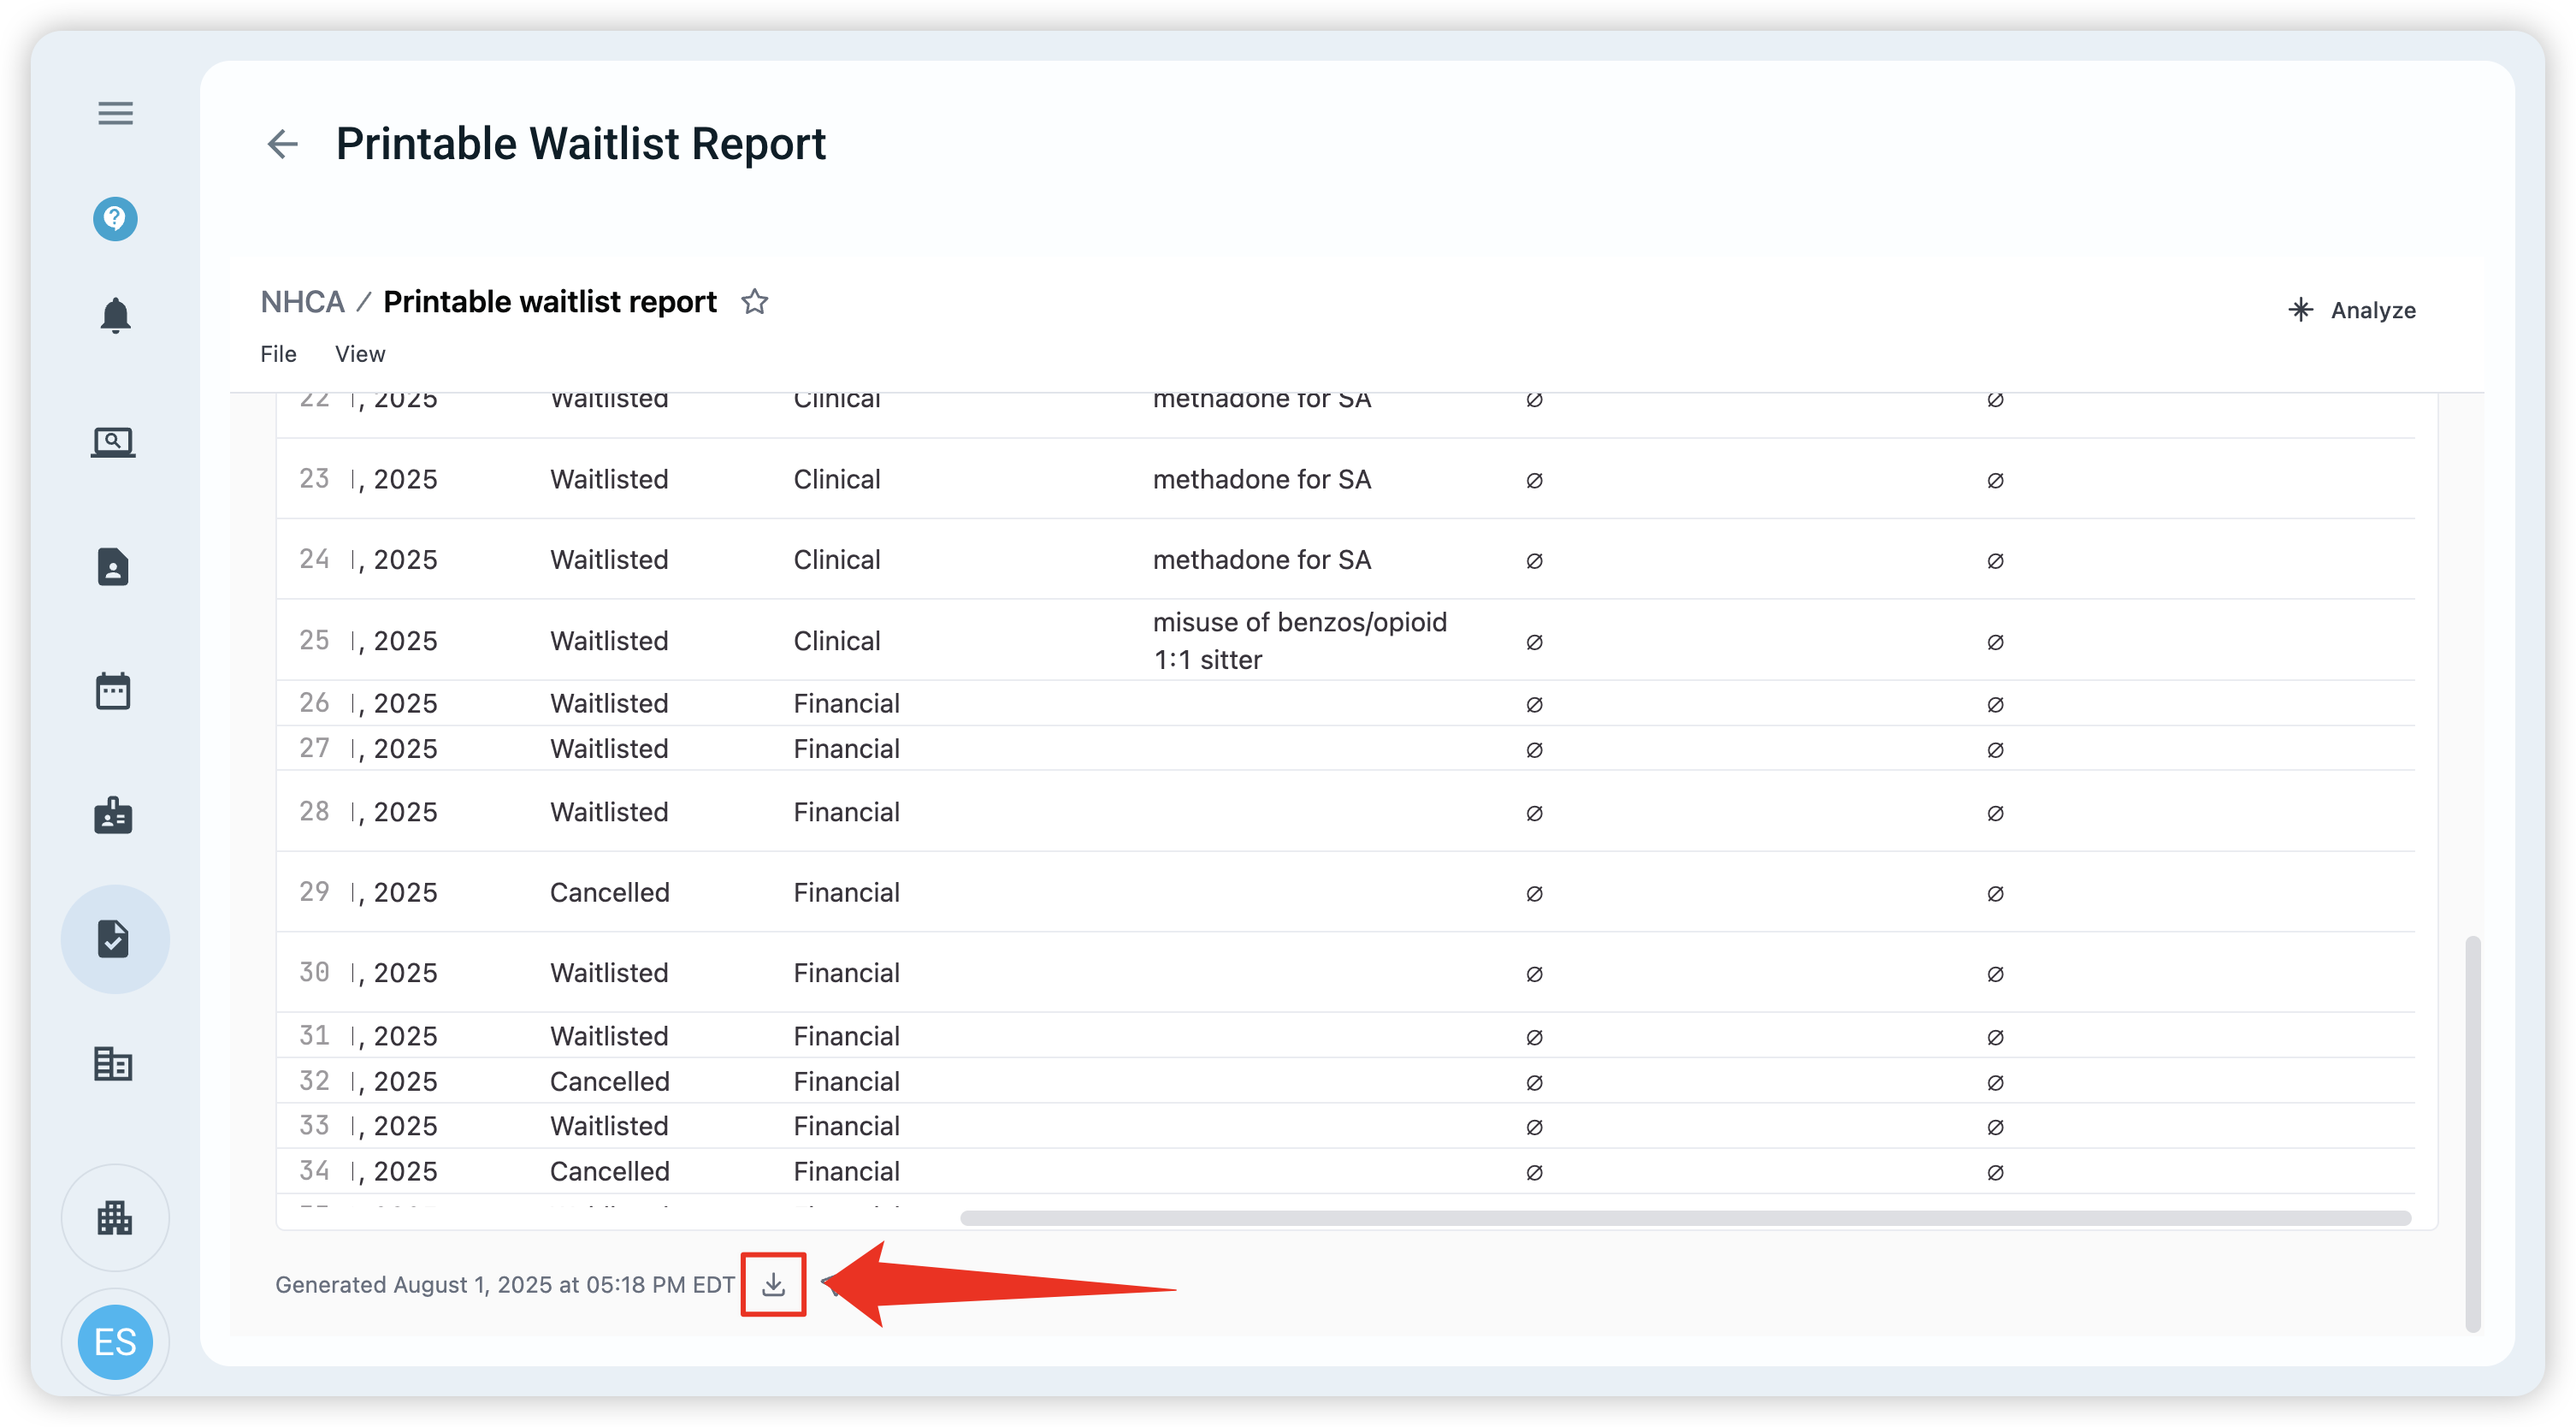
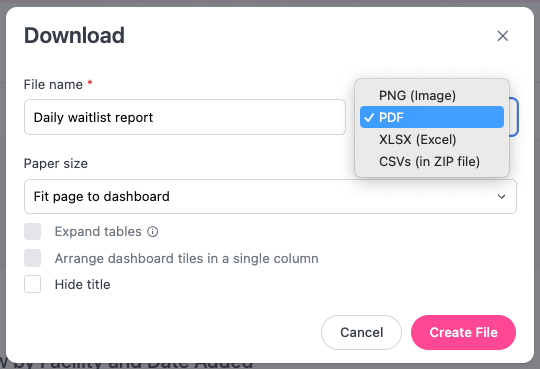
You can download the Printable Waitlist Report in multiple formats such as PDF, Excel, or image. Here’s how:
Scroll to the very bottom of the report and click the download icon
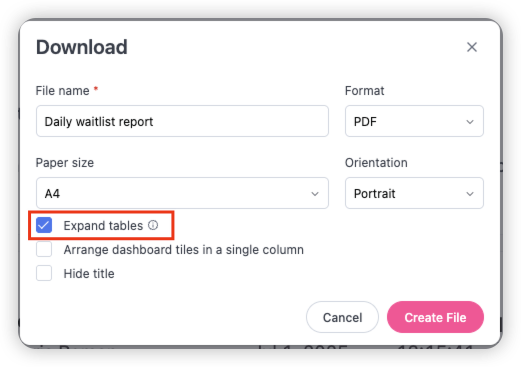
Choose your preferred file format — PNG (image), PDF, Excel (XLSX), or CSV. PDF is recommended for printing
Next, select the paper size. This will determine how the page size for the report
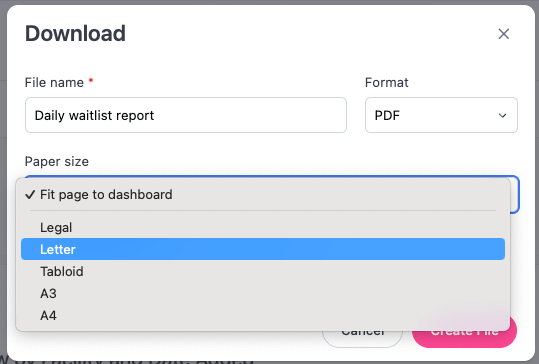
Ensure the Expand tables box is checked so that all tables are expanded to show all rows
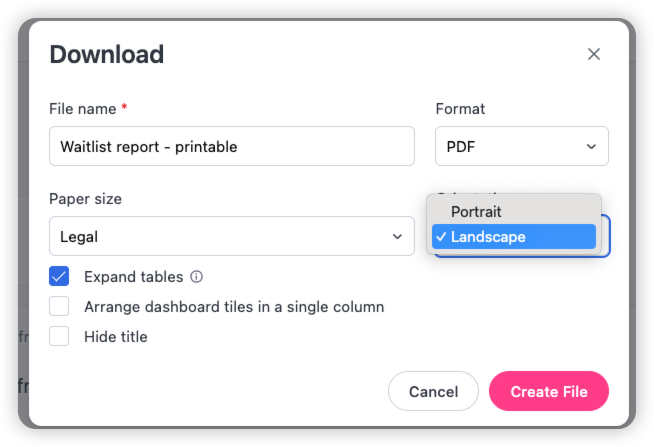
Select Landscape, then Create File
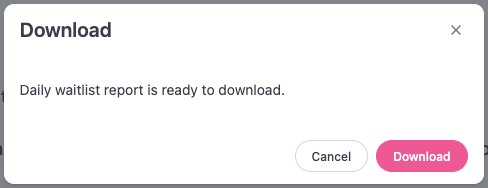
Once the report is created, then select Download to download the report. The report is now ready to be printed